Installation guide
The entire RunsOn stack can be installed in 10 minutes in your AWS account and requires:
- a license key (free for non-commercial use, or 15 days trial available).
- an AWS account: we recommend that you set up RunsOn in its own dedicated AWS sub-account, to further improve isolation of your workflows.
If at any point you are stuck, please reach out to me at [email protected] or book an onboarding call ↗.
0. Preflight checks
Section titled “0. Preflight checks”Some optional but recommended checks before starting the installation:
Preflight check 1 (click to expand) Make sure you have enabled the permission to create repository-level self-hosted runners in your GitHub organization settings, under the “General” Actions settings.
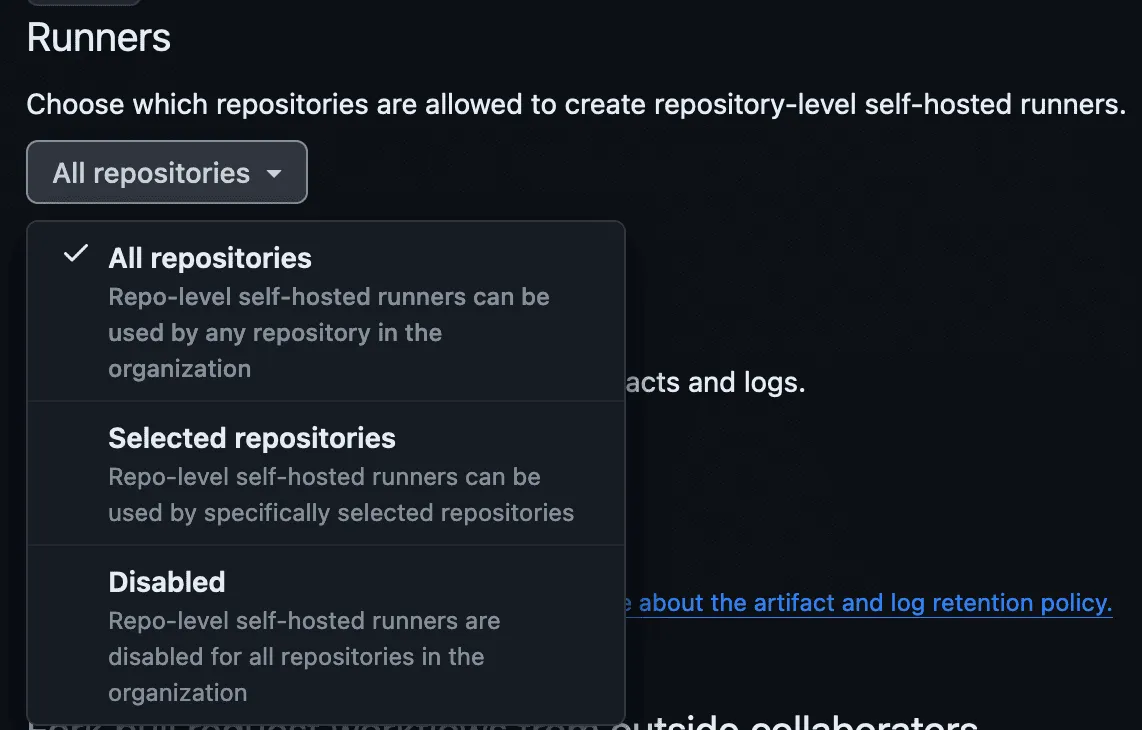
Direct link:
https://github.com/organizations/<YOUR_ORG>/settings/actions1. Select your AWS region
Section titled “1. Select your AWS region”To get started, simply select one of the regions below. This will redirect you to the CloudFormation interface:
Or, if you prefer creating the stack manually with CloudFormation, you can use the following template URL:
https://runs-on.s3.eu-west-1.amazonaws.com/cloudformation/template-v2.8.5.yamlDon’t want to use CloudFormation? CloudPosse maintains a terraform component for RunsOn ↗ or you can directly use the aws_cloudformation_stack ↗ terraform resource to operate the stack.
2. Stack creation
Section titled “2. Stack creation”After you click on one of the regions above, you will end up on a screen with a few inputs fields:
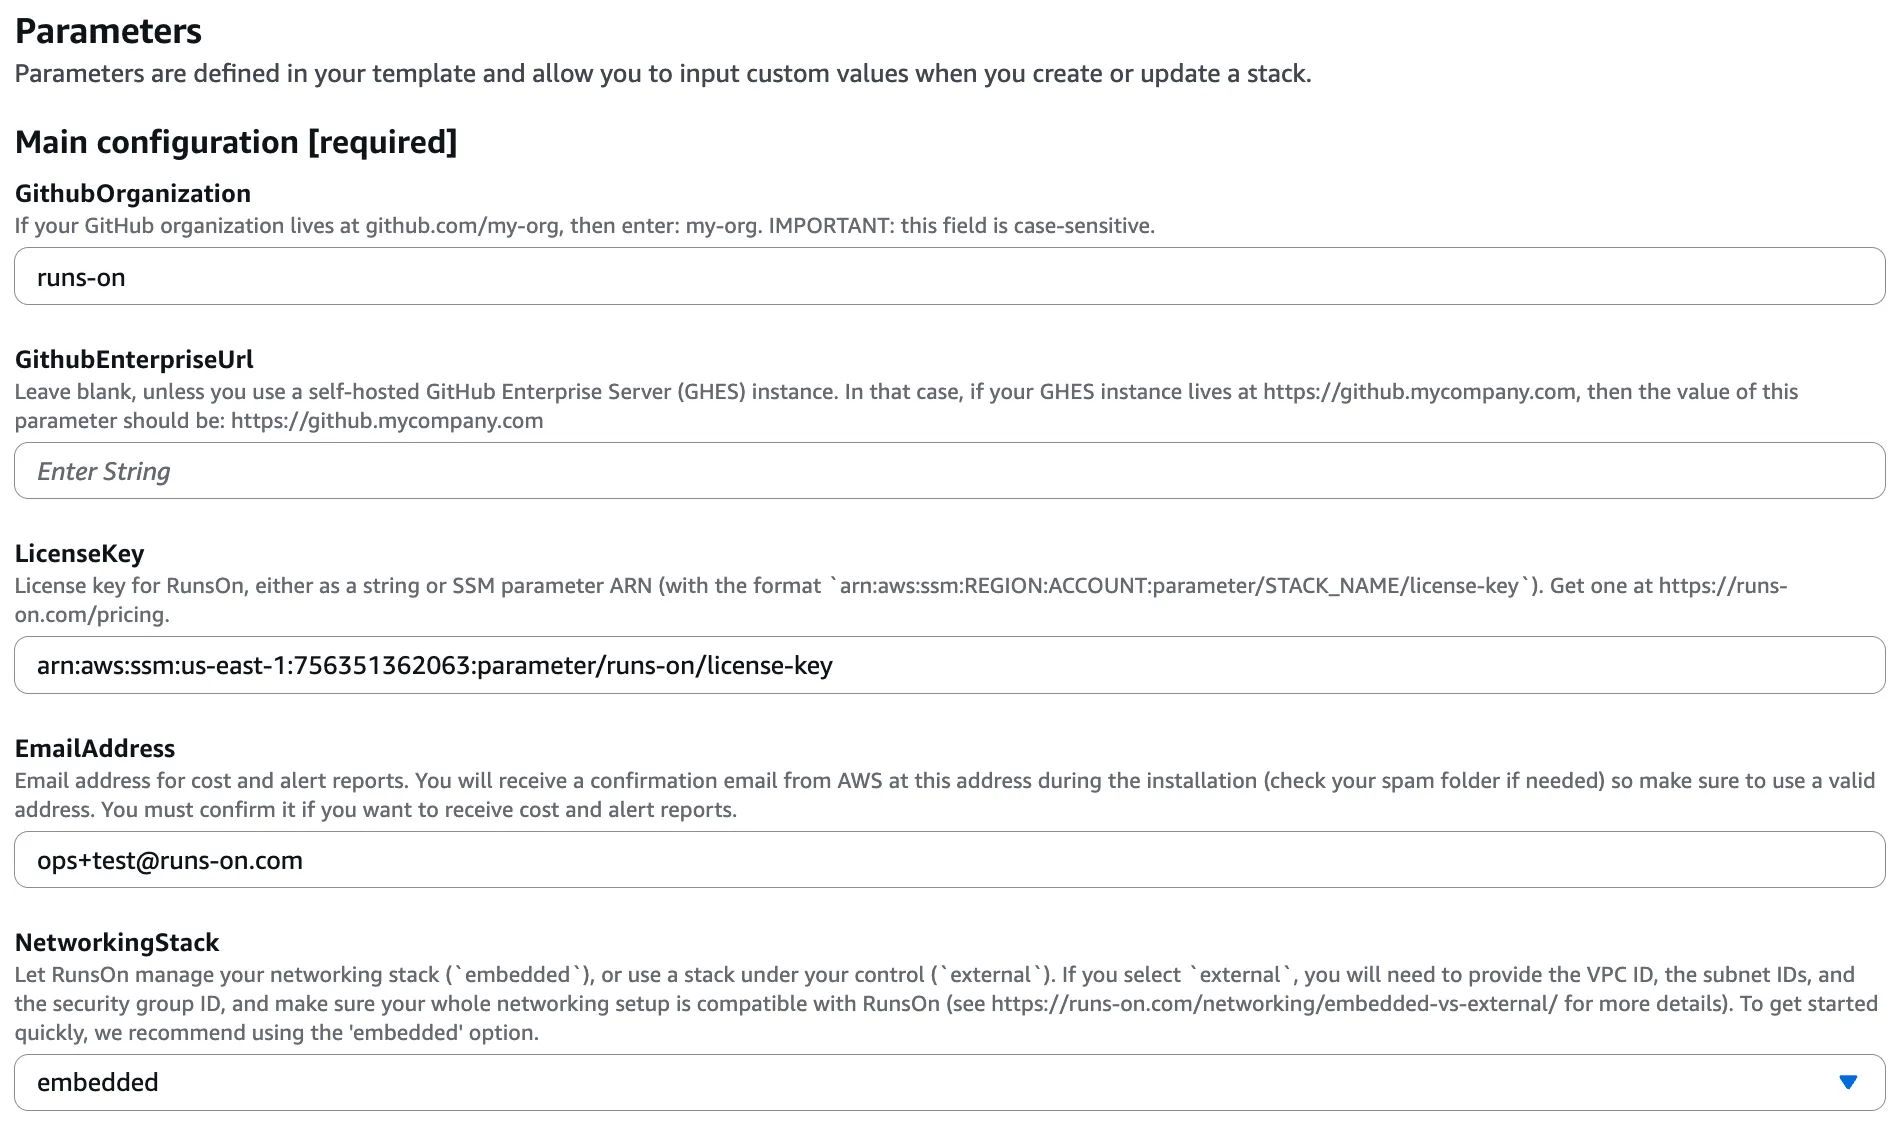
You must fill the fields under Main configuration [required]:
- the name of your GitHub organization or personal account where you want to install RunsOn (e.g.
my-org). - if you are using a GitHub Enterprise Server, you can specify the GitHub Enterprise Server URL (e.g.
https://github.example.com). Leave blank if you are using GitHub.com. - the license key for RunsOn, either as a plain text value or a reference to an SSM parameter. You can get one here, with a 15-day free trial.
- an email address where cost & alert reports will be sent.
- the kind of networking stack you want to use. I recommend you always start with the
embeddedoption when you are testing. You can always change it later, or create a new RunsOn installation with a different networking configuration.
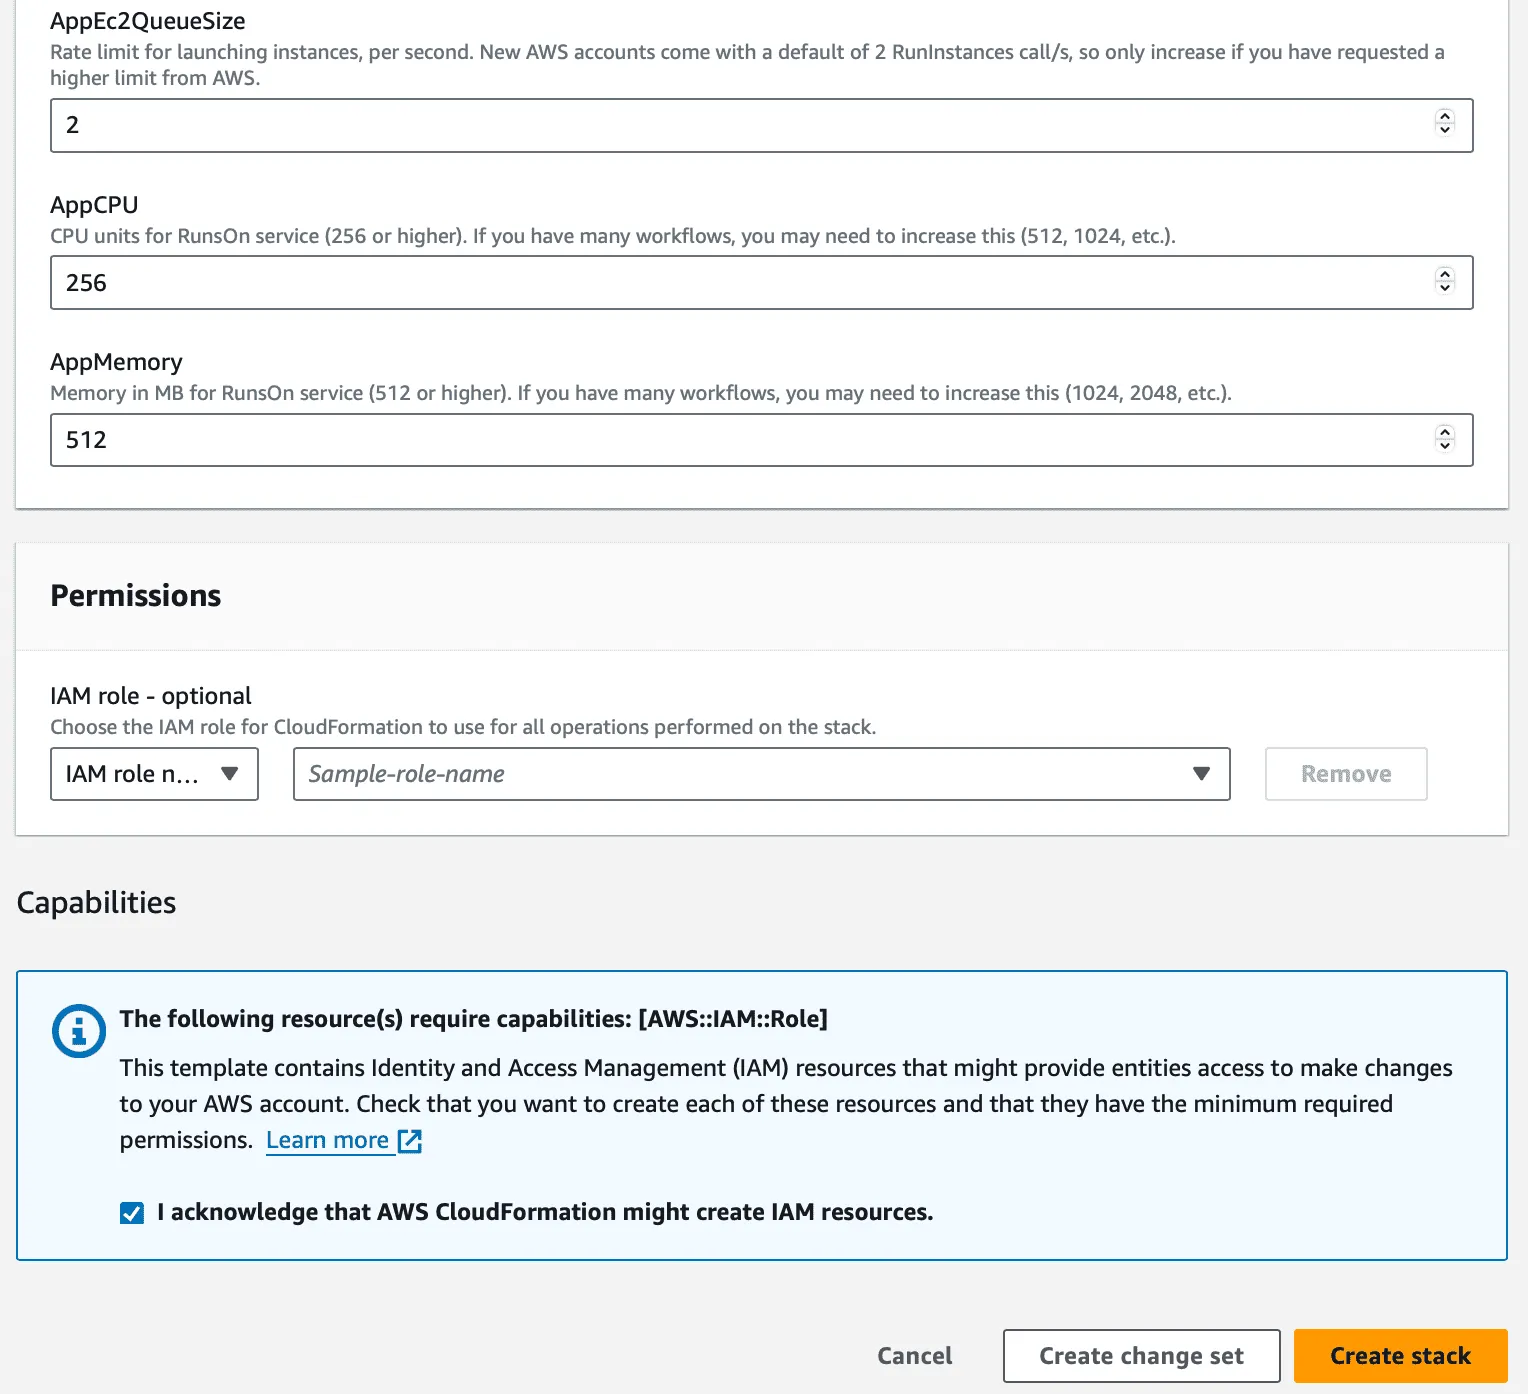
You can quickly review all the other parameters to see if some are useful for your use cases, but they are all optional.
Finally, check the box to allow the stack creation, and proceed by clicking on “Create stack”. Note that the stack will create a dedicated IAM role for the RunsOn service, with the most restricted set of permissions required.
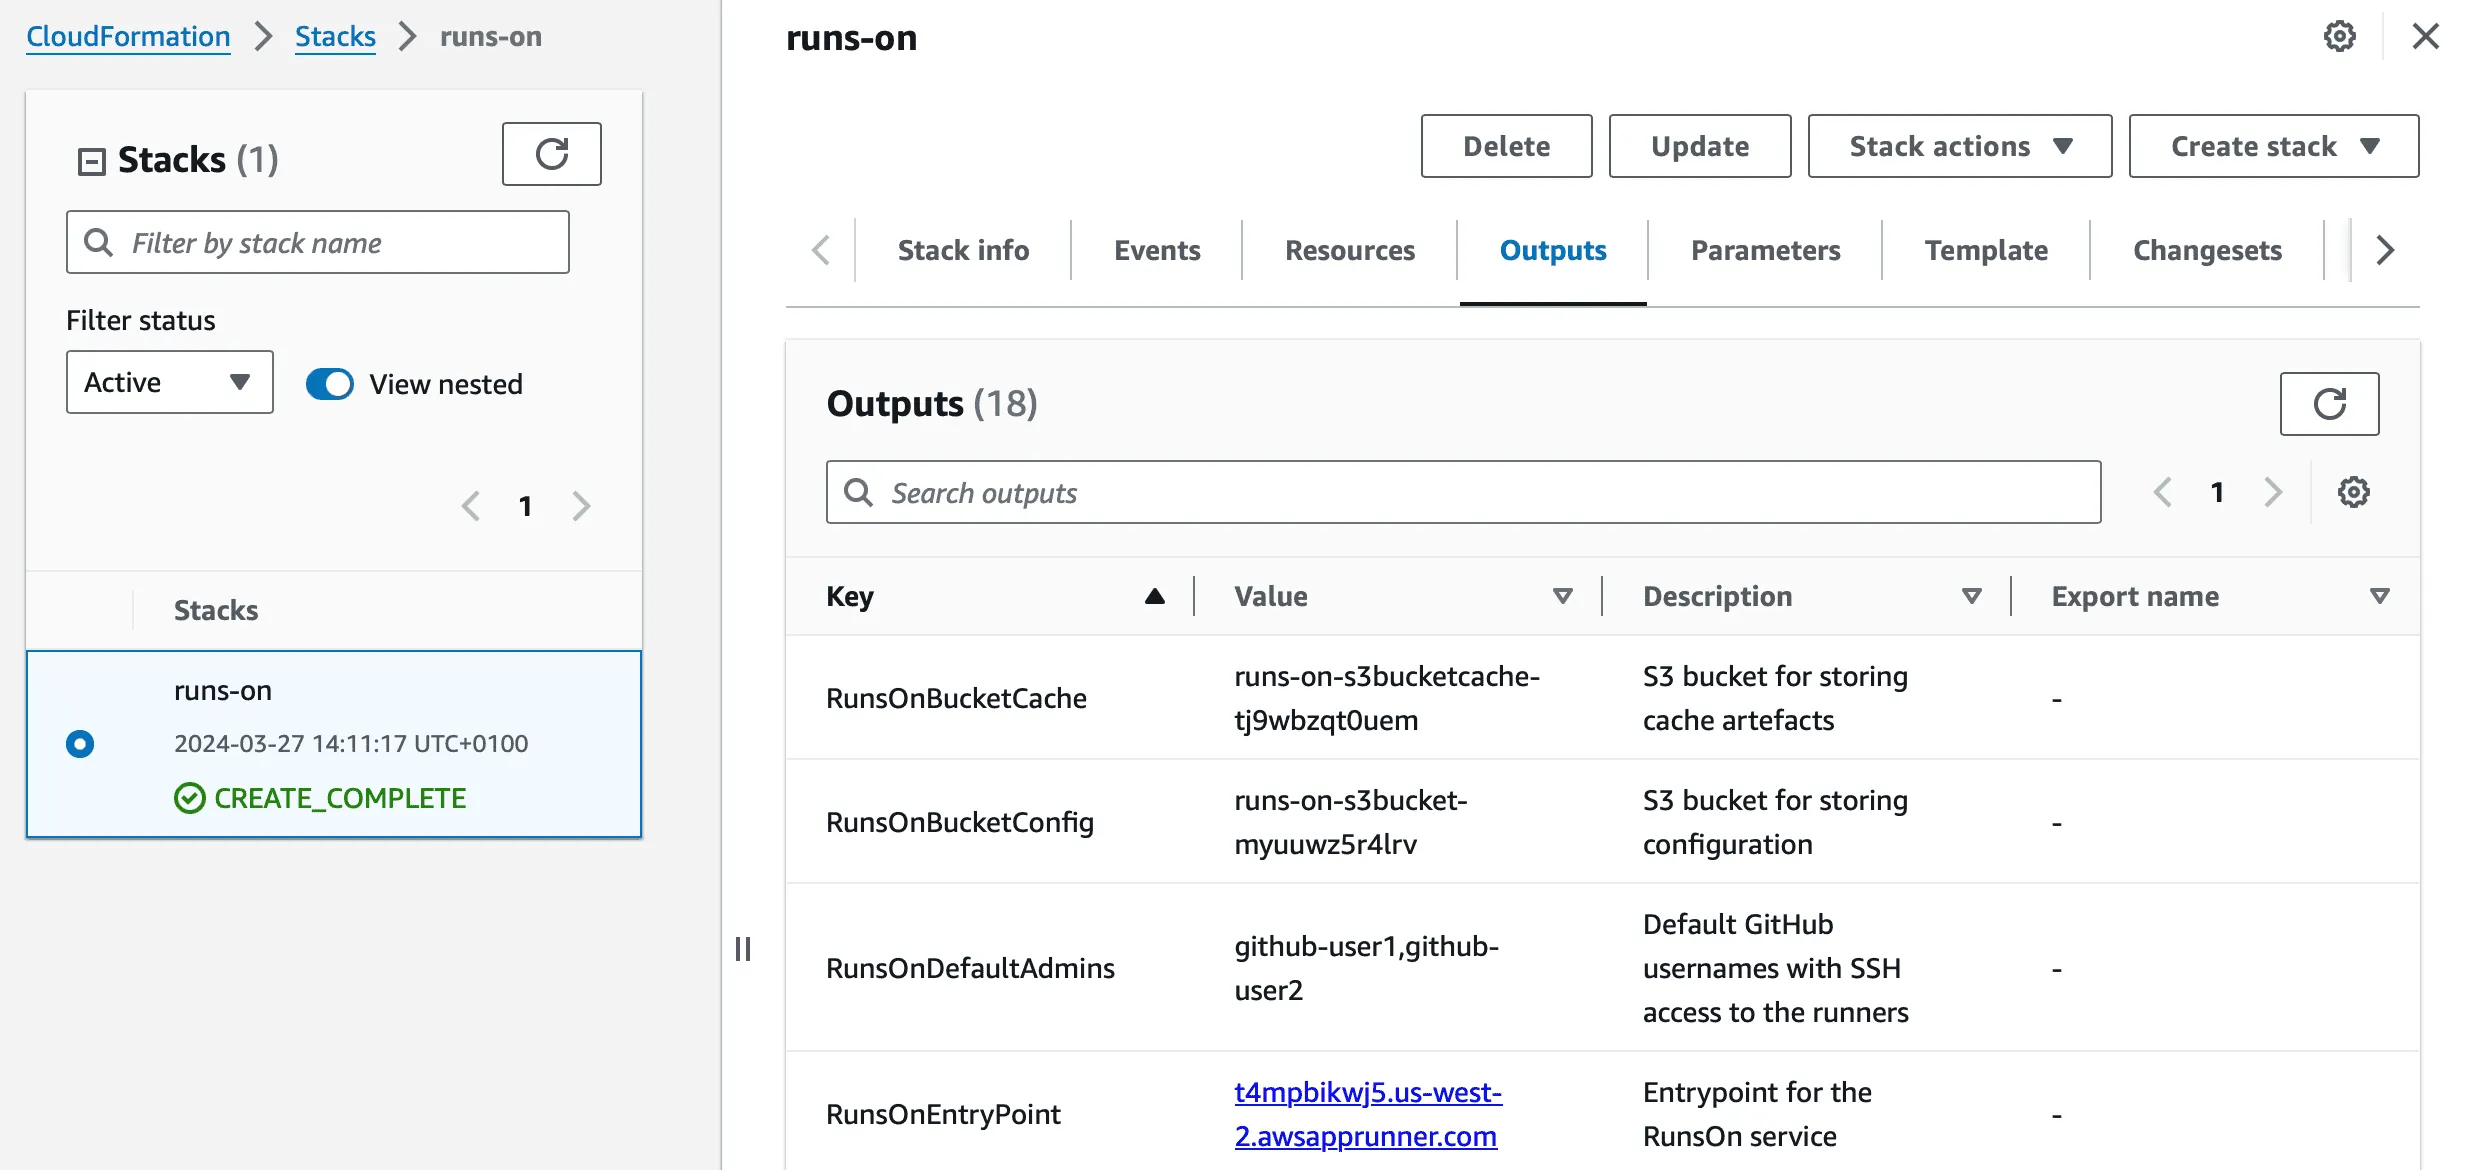
Once the stack creation is complete, the HTTPS URL to your RunsOn instance will be displayed in the CloudFormation stack Outputs, under the RunsOnEntryPoint output parameter:
3. GitHub app registration
Section titled “3. GitHub app registration”To finish the installation, from the CloudFormation stack Outputs, simply click on the HTTPS URL for the RunsOn entrypoint, and click “Register app”:
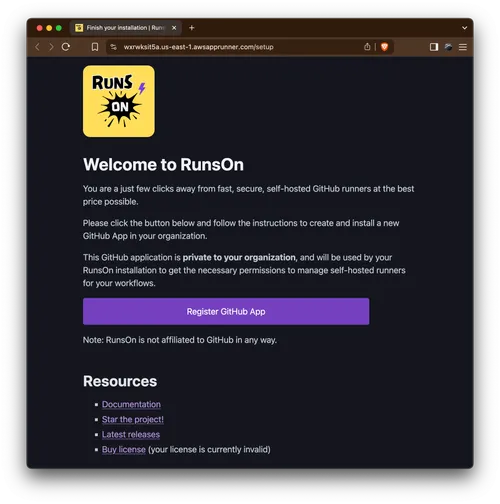
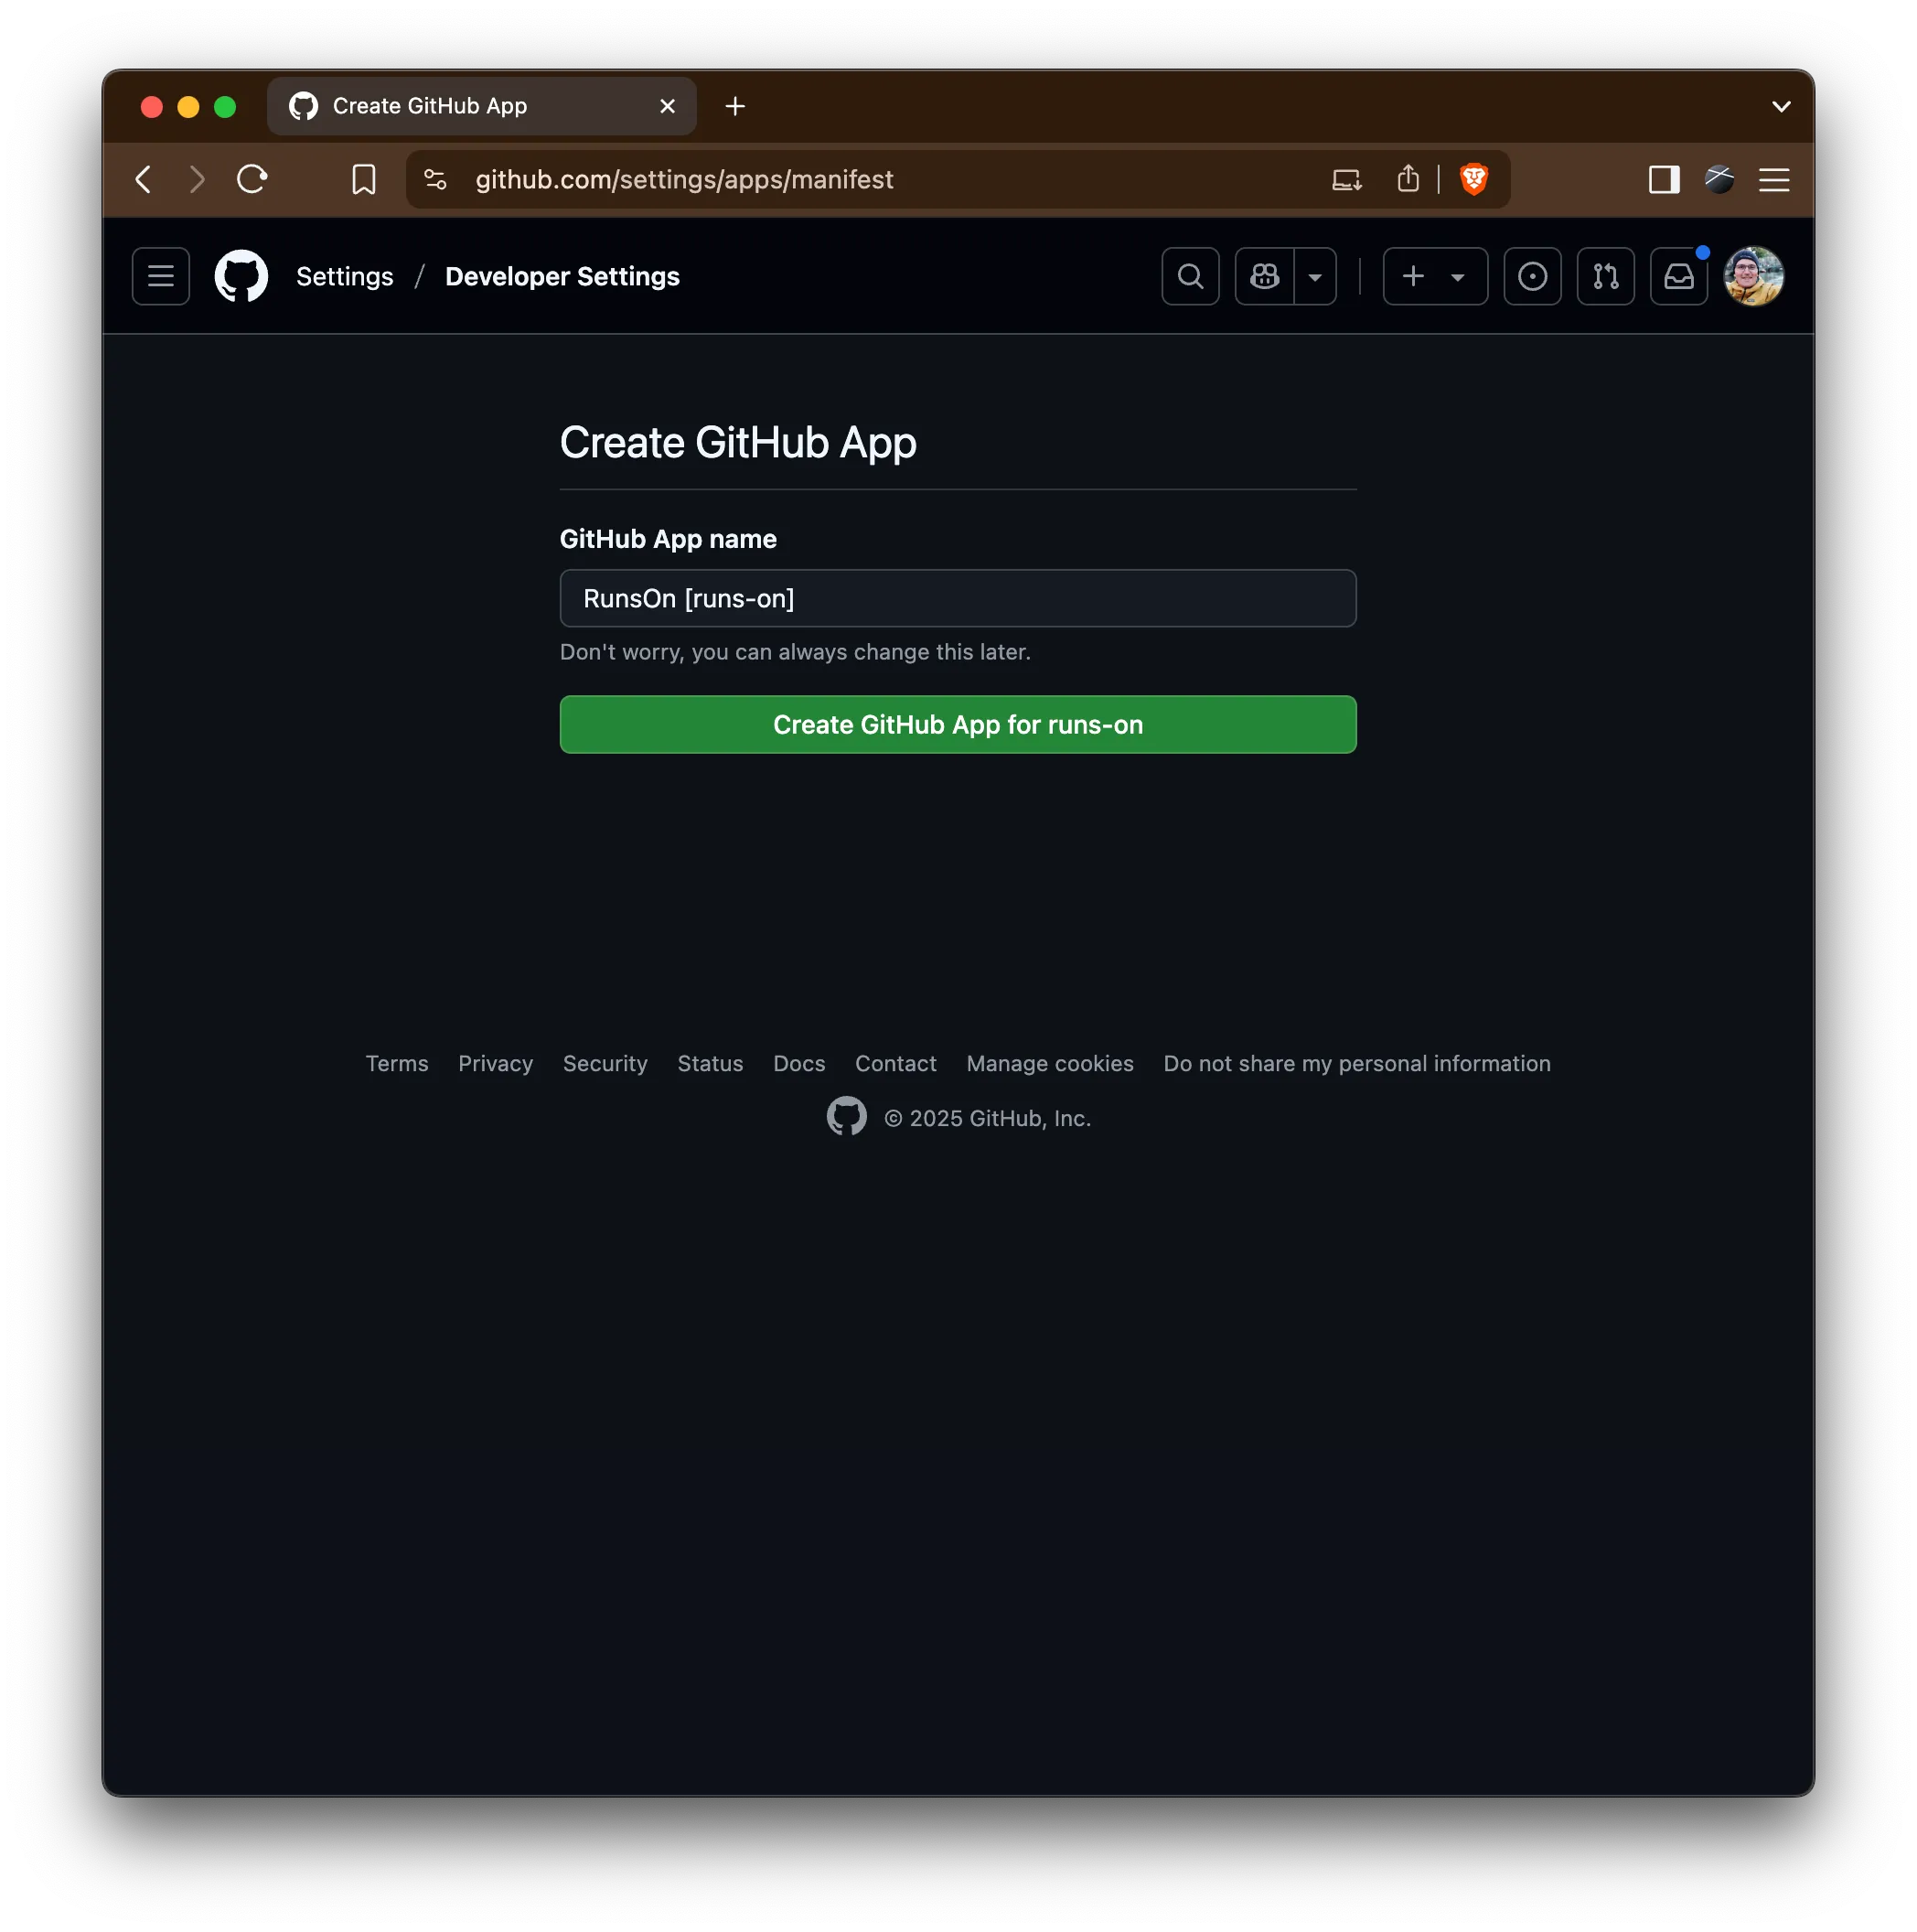
You will then be directed to a screen where you can adjust your app name:
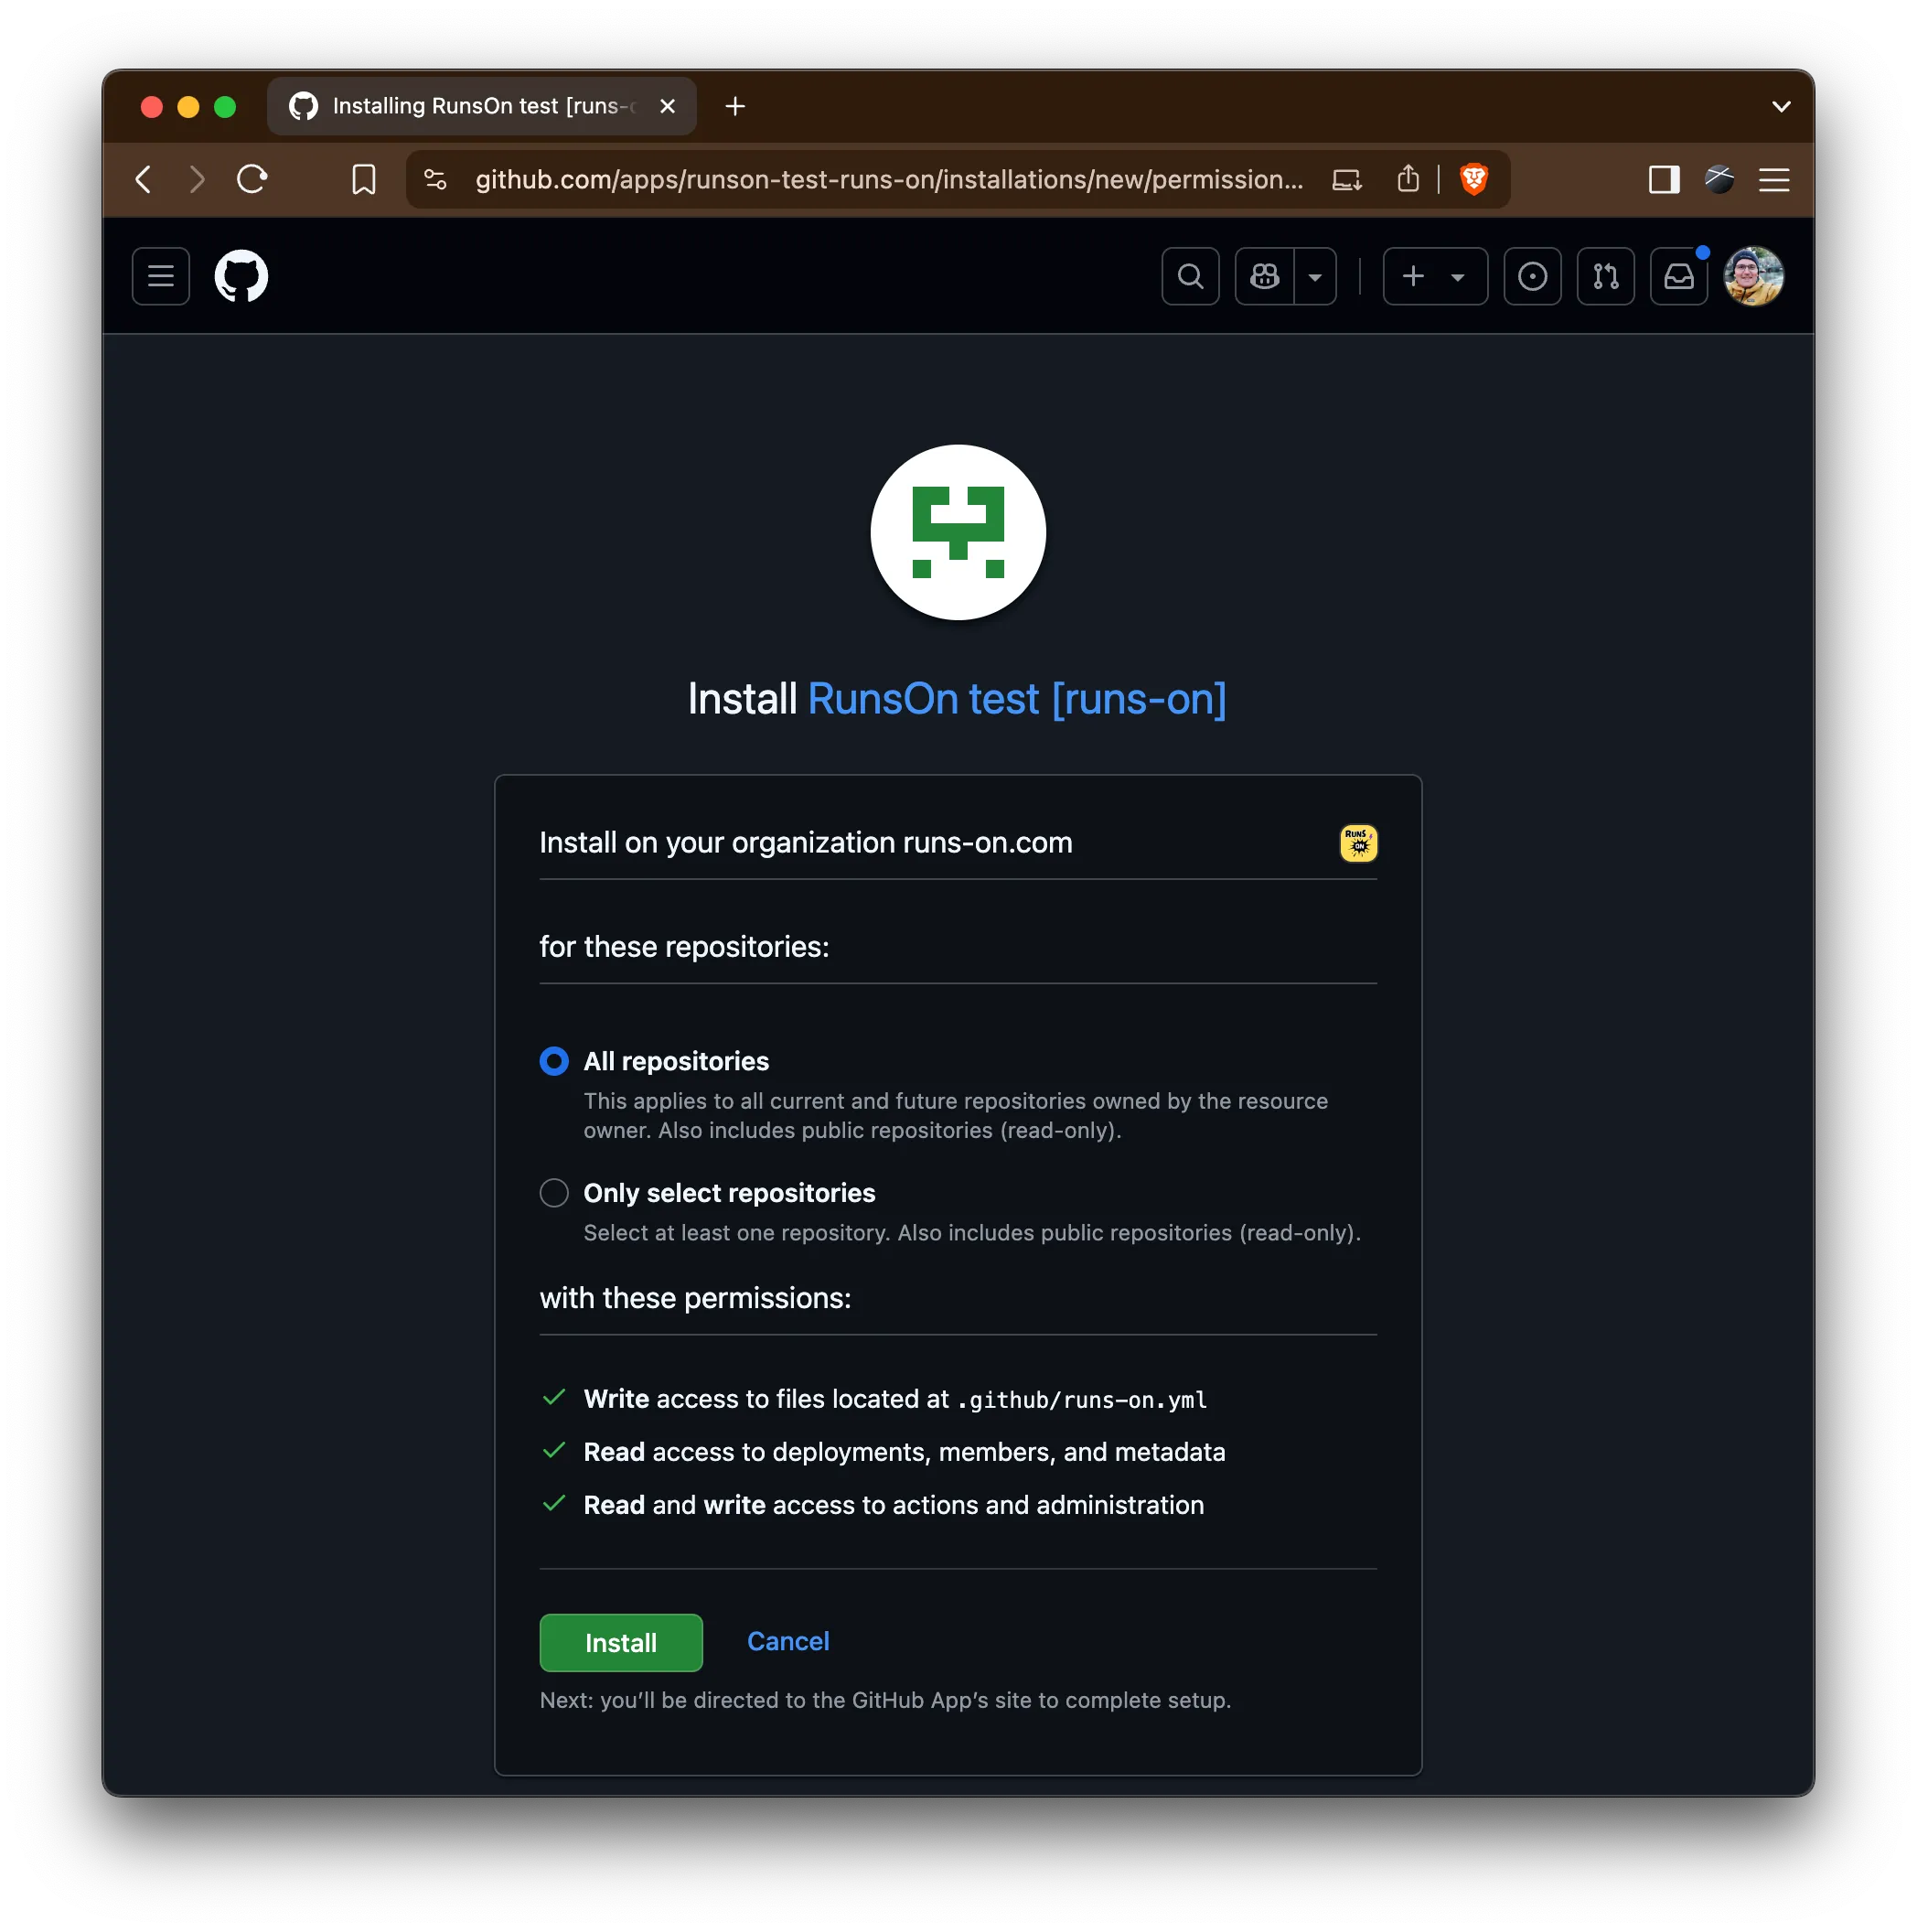
And then select the repositories you want this app to be installed on:
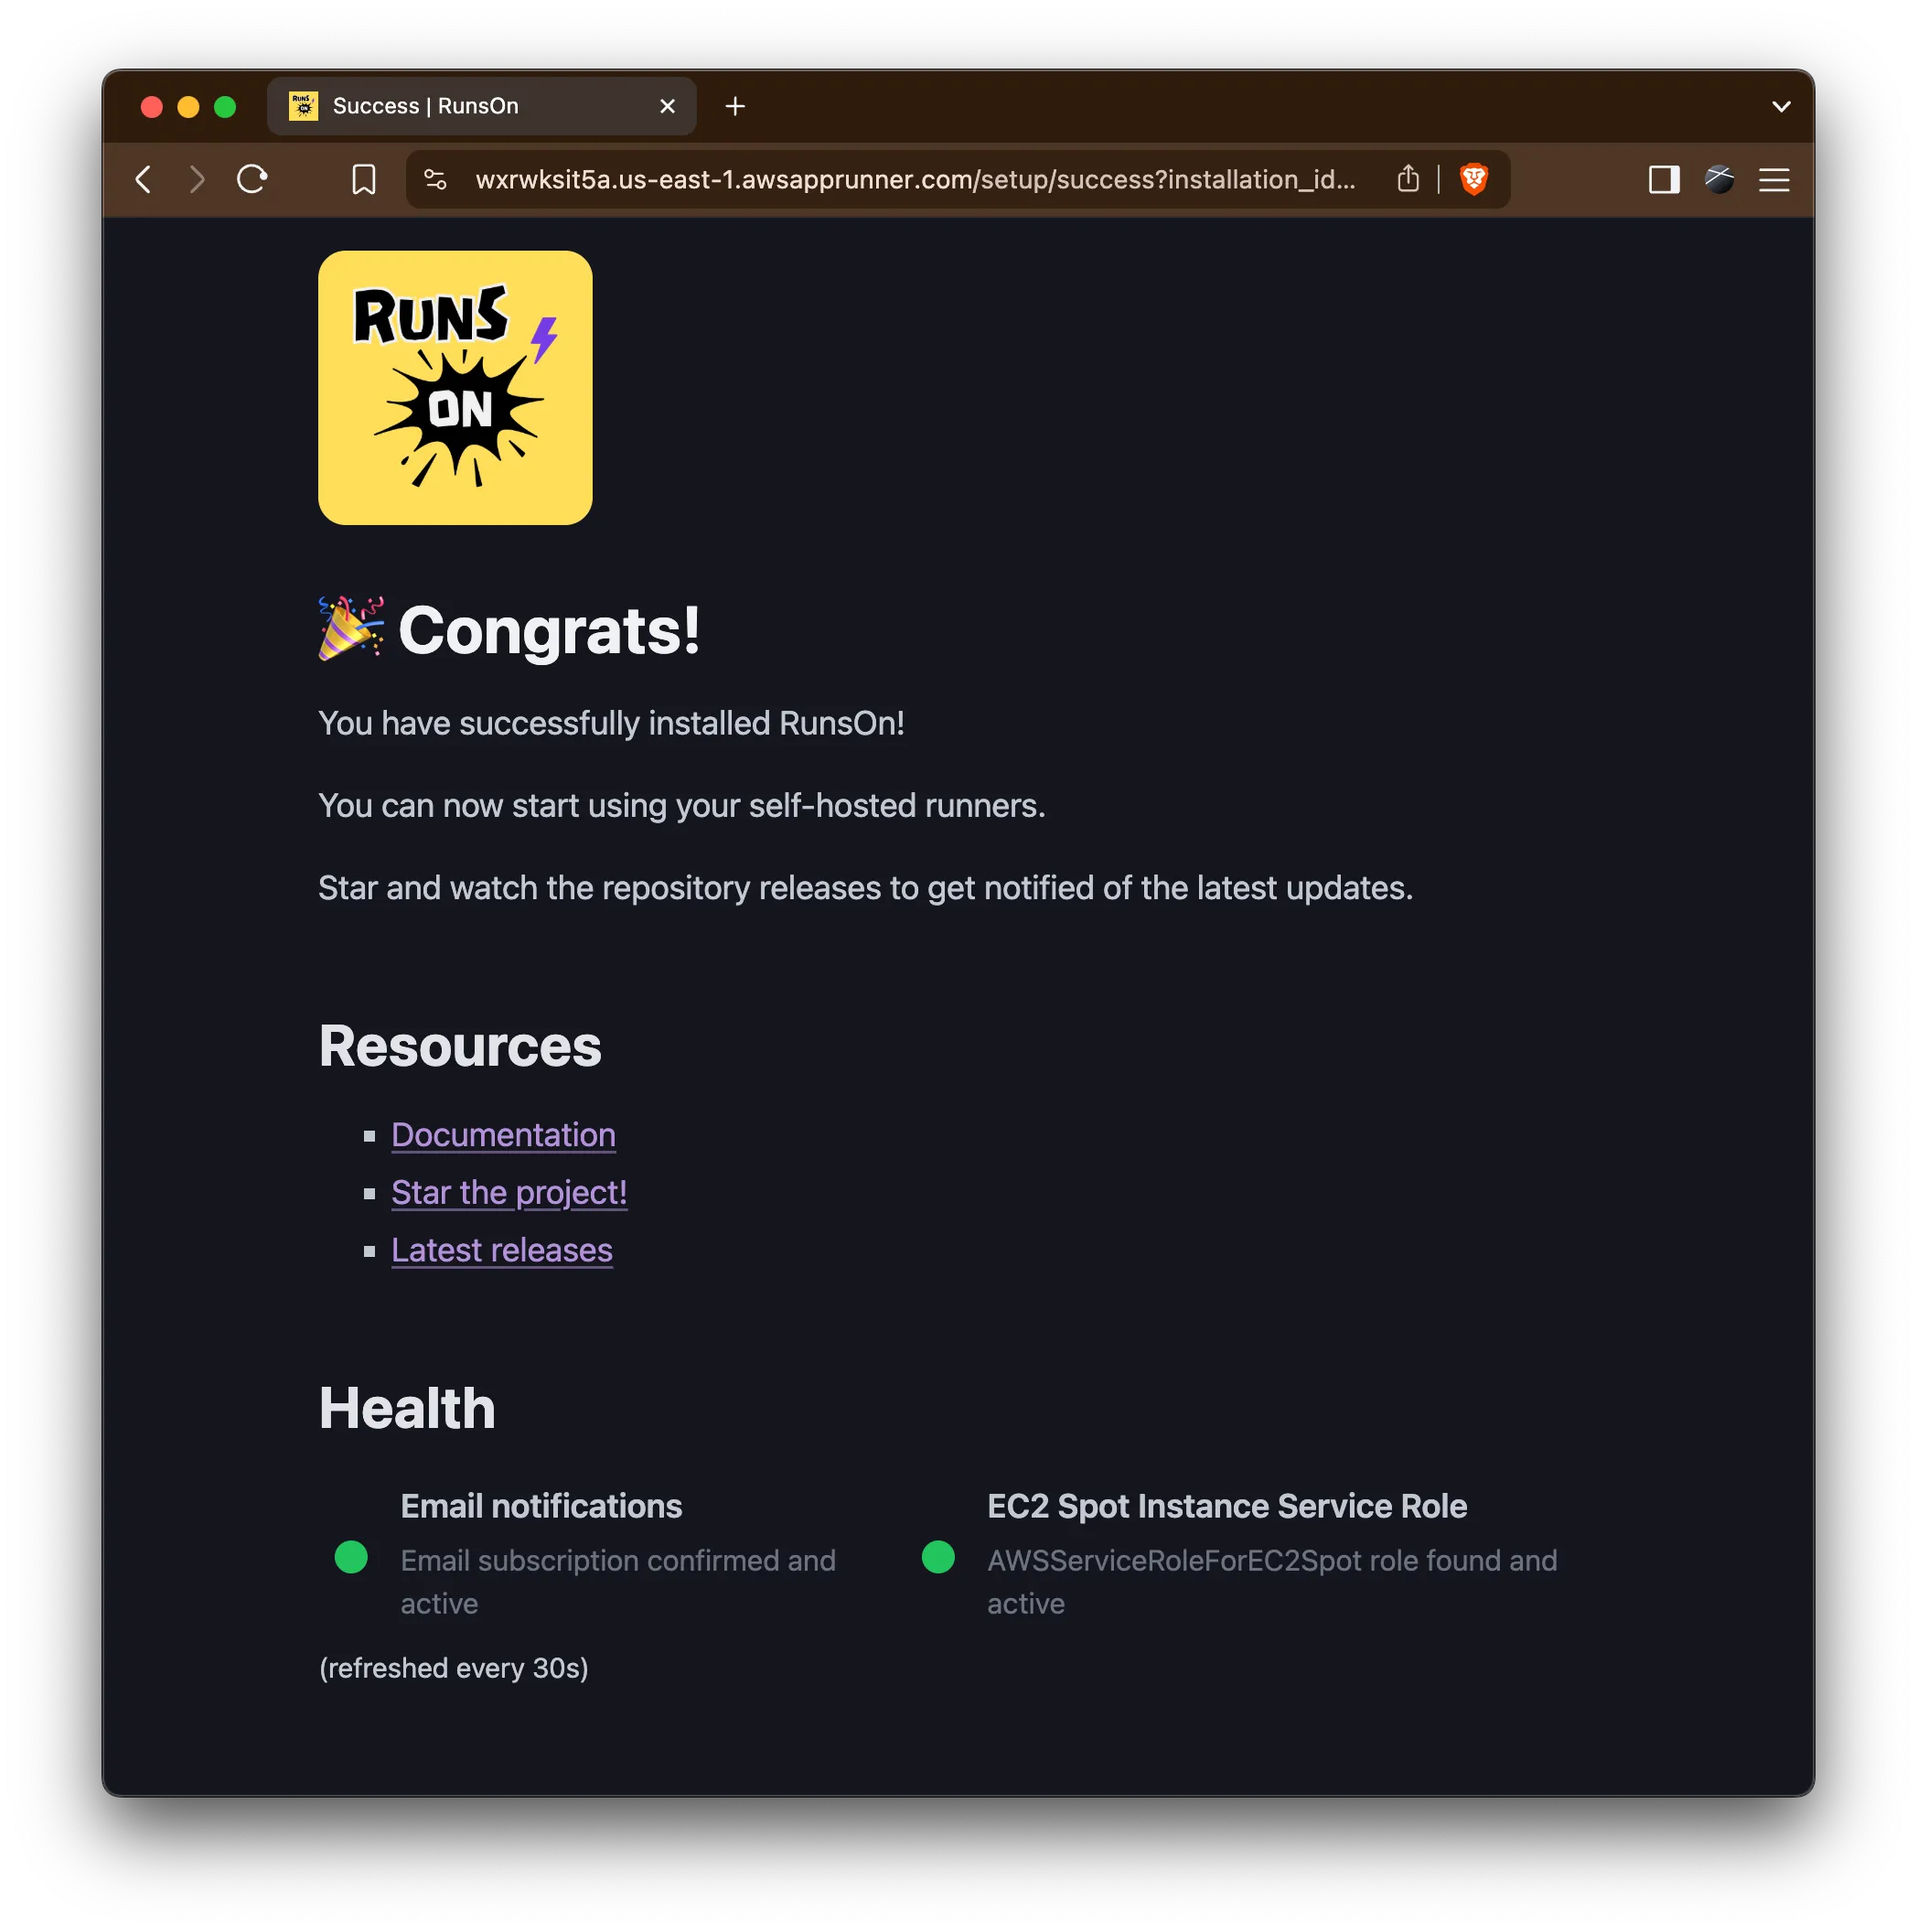
After you confirm, you will get redirected to the RunsOn service, which should display the following success screen:
4. Ready!
Section titled “4. Ready!”It’s now time to update your workflows to select one of the RunsOn runner types! For instance:
runs-on: ubuntu-latestruns-on: runs-on=${{ github.run_id }}/runner=2cpu-linux-x64Resources
Section titled “Resources”- All stack configuration parameters.
- All job labels available for your workflows.
- The documentation for Linux runners.
- Troubleshooting guide.
- Best practices guide.
